Setting Up your Expensify.
Starting in the OneLogin admin dashboard portal, do the following:
- Go to to Apps > Add Apps.
- Search for Expensify that is a SAML 2.0 connector and select it.
You may edit the Display Name if desired. - Ensure that SAML2.0 is selected under Connectors.
- Click Save.
- Select the Configuration tab.
- Under Domain, put the full domain of your organization's Expensify account.

- Click Save.
- Select the Parameters tab.
- Ensure that Credentials are Configured by admin and that the mappings are as follows:
NameID (Subject) -> Email
- Click Save.
- Select the More Actions button.
- Click the SAML Metadata option.
- Open the downloaded metadata file in a text editor of your choice.
- Copy the entirety of the certificate's contents. This will be put into your Expensify dashboard to confirm the SAML connection.
Setting Up Expensify
Before you begin configuring Expensify for SSO, you must first enable and verify Domain Control.
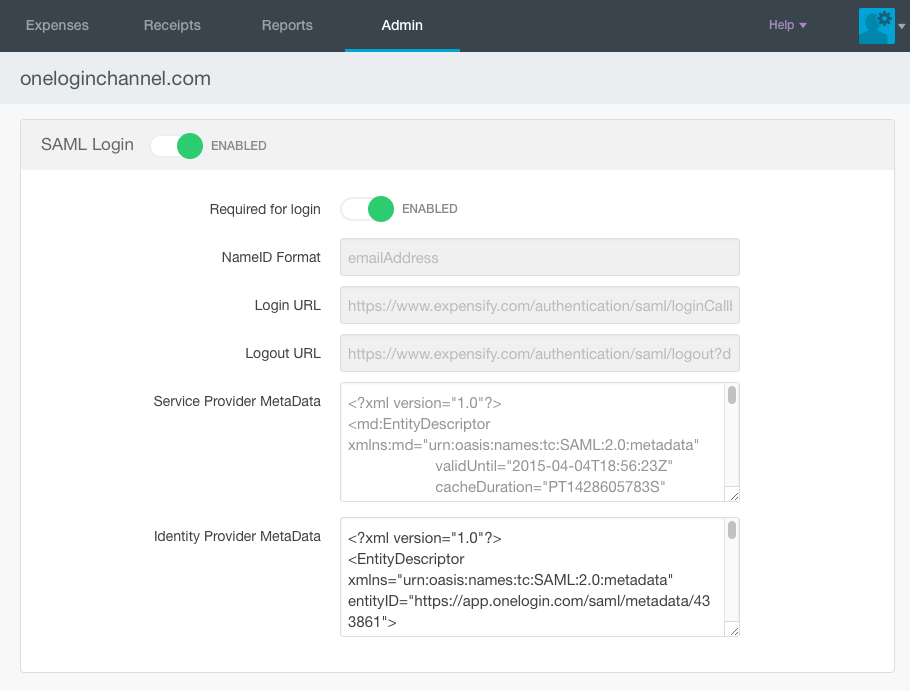
Once that's completed, starting at the Expensify admin page, do the following:
- Go to Admin > Domain Control.
- Select the verified Domain name.
- Go to SAML.
- Toggle SAML Login to Enabled.
- Toggle Enabled or Disabled for Required for login.
- Enabled will force users to log in via SSO, with no password.
- Disabled will force users to log in with their Expensify password.

The SAML settings will update automatically.


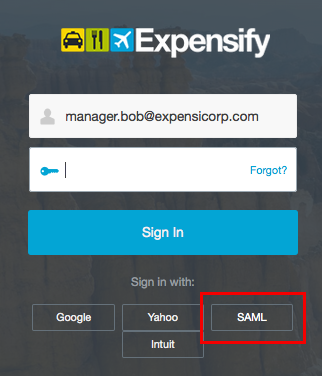
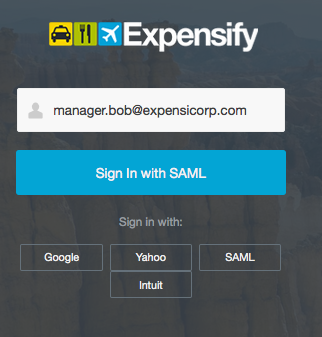
With the configuration complete, OneLogin and Expensify should be connected through SAML!
Troubleshooting Email Mismatch
In some cases, the Expensify account admin email may not match the OneLogin admin email. This can be remedied by doing the following:
- Go to Users > Account_Owner.
- Select the Applications tab.
- Select Expensify to open the Edit Login pane.
Here you may overwrite the default fields for your Expensify login and insert the correct information to match your OneLogin credentials with your Expensify credentials.

Comments
0 comments
Please sign in to leave a comment.